A personal finance dashboard to track accounts and transactions. This project is designed to be simple, self-hosted, and easy to use.
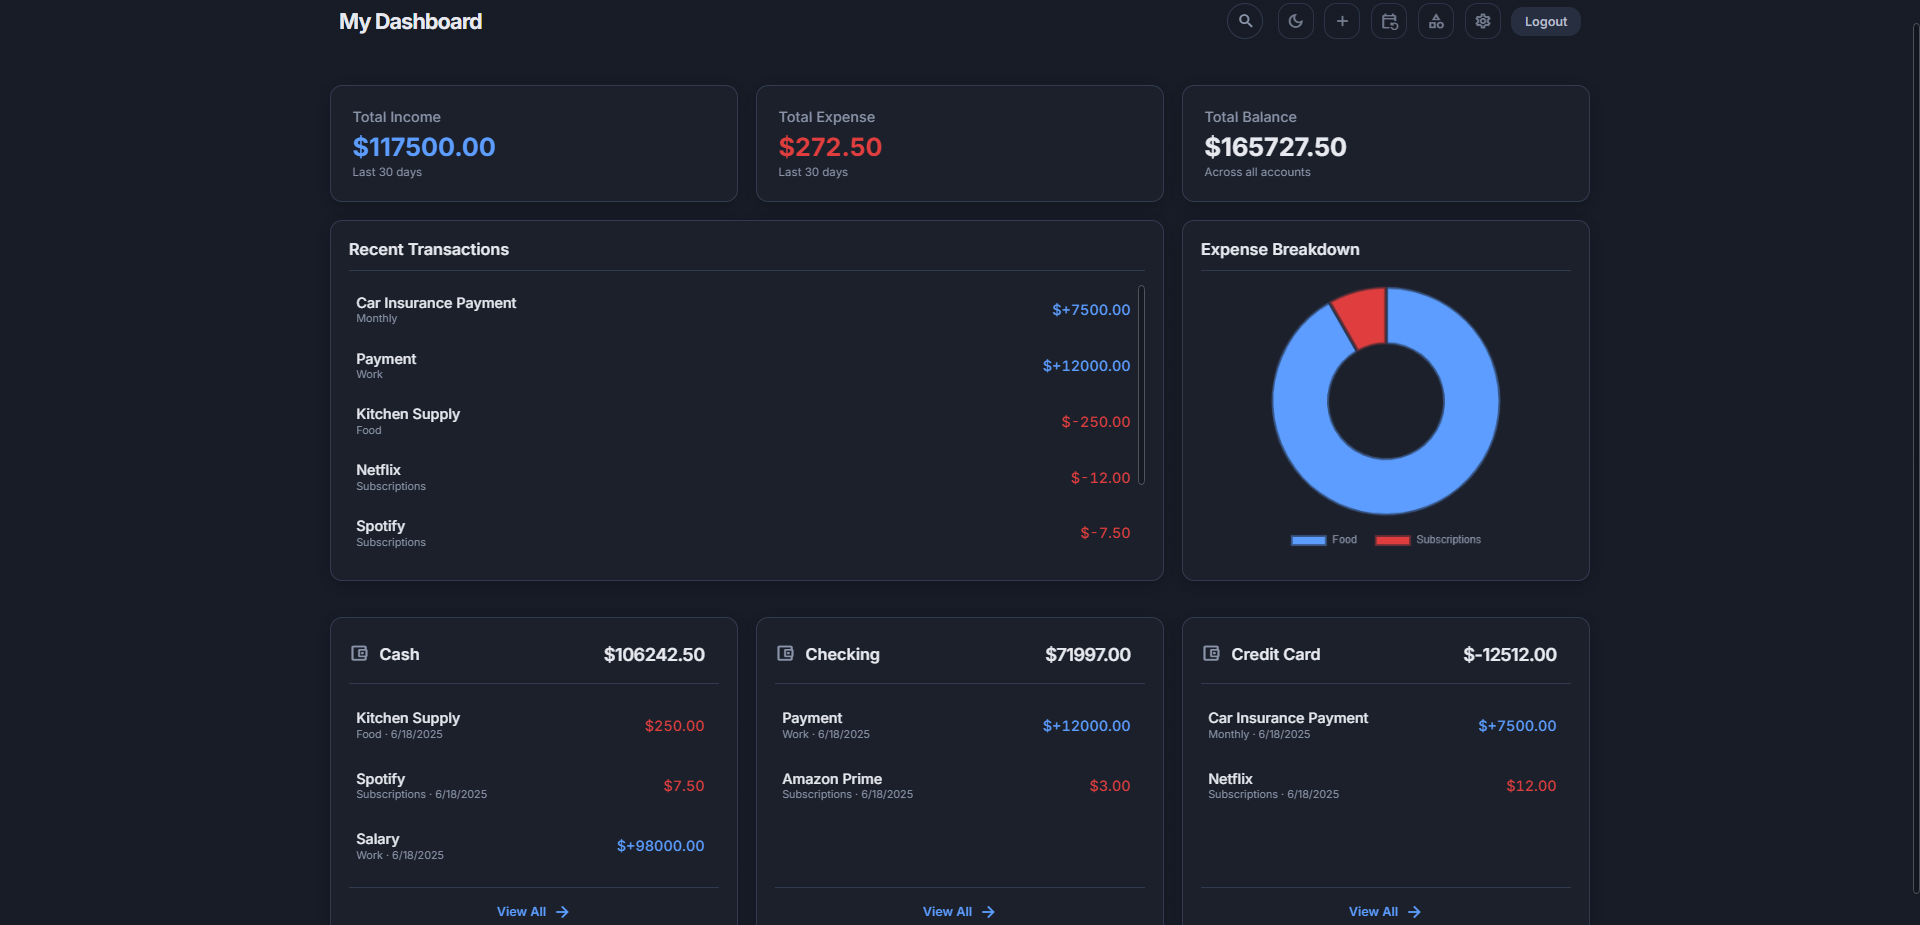
More screenshots can be found here.
demo soon™
- Track Your Accounts: Add and manage your financial accounts, such as bank accounts, credit cards, and savings.
- Log Transactions: Easily add, edit, and delete transactions for each account.
- Real-time Balances: Account balances are automatically updated as you add or modify transactions.
- Your Dashboard, Your Rules: A clean and simple interface to view your financial overview.
- Match Your Vibe: Switch between a slick dark mode and a clean light mode.
- Keep It To Yourself: A simple login keeps your personal dashboard private. The first person to sign up becomes the one and only admin and user.
Ready to get your own dashboard up and running? You've got two paths to choose from.
- Python 3.x (if you're going the local route)
- Docker and Docker Compose (if you want the easy setup)
This is the fastest way to get started.
-
Clone this repo:
git clone https://github.com/them3rcury/easy-finance cd easy-finance -
Let Docker do the magic: This single command builds the container and gets everything running.
docker-compose up -d
-
You're in! Open your browser and head to
http://localhost:5000.
Here’s how to run it on your machine locally.
-
Clone this repo:
git clone https://github.com/them3rcury/easy-finance cd easy-finance -
Setup the venv:
- On macOS/Linux:
python3 -m venv venv source venv/bin/activate - On Windows:
python -m venv venv
.\venv\Scripts\activate
- On macOS/Linux:
-
Install the goodies: This will grab all the Python packages the project needs.
pip install -r requirements.txt
-
Launch it!
- On macOS/Linux:
export FLASK_APP=app.py flask run - On Windows:
set FLASK_APP=app.py
flask run
- On macOS/Linux:
-
Use it! Open your browser and navigate to
http://127.0.0.1:5000.
The very first time you launch the app, it'll ask you to create an account. This first account is special—it's the one and only user account for your dashboard.
- Flask for the backend
- Flask-SQLAlchemy for the database
- Vanilla JavaScript for the interactive frontend (no complex frameworks!)
- Docker for easy-peasy containerization
Feel free to fork this repository, dive into the code, and make it your own. Want to add a new feature? Go for it!
- Add charts and graphs for financial visualization
- Add recurring transactions
- Improved search and filtering
- Set financial goals and tracking
- Budgeting feature to set spending limits
- Backup and restore functionality
- Add ability to sign-up multiple users